Okay, as of this time of writing, the currently supported version of Photoshop in Linux is Photoshop 7.0, although you could, I know some have, also install version 8.0, which is more popularly known as Photoshop CS. Installing it on any Linux Operating System is easy if you have CrossOver Office which can be bought from CodeWeavers. Unfortunately, most of us do not have the luxury of buying software, which is why we installed Ubuntu and not Windows in the first place! (Although theoretically, you would have still bought Photoshop if you’re reading this How-To, ANYWAY). Lucky for us, there is an alternative, and it’s called WINE – which stands for Wine Is Not [an] Emulator (I think, or maybe it doesn’t stand for anything). Wine is an Open Source implementation of the Windows API on top of X and Unix. It can run a lot of popular Windows programs under Linux.
I’m not sure if these instructions are the same for all flavors of Linux, but here’s how you install Wine and use it to run Photoshop under Ubuntu.
First, make sure that you’ve read and done the stuff I babbled about adding extra repositories in Ubuntu in this HowTo. Next, let’s install wine by going on the terminal (Applications->Accessories->Terminal) and typing the following:
sudo apt-get install wine
Ubuntu should be able to install it for you automatically. Once it’s done, you’re all set to install your Photoshop. Get your copy of Photoshop 7.0 or OR CS (8.0) and insert it on your CD-ROM drive.
Side Note: For those of you who saved your copy of Photoshop (for back-up purposes of course) on an ISO file, you can quickly mount this ISO file on Ubuntu by doing the following on the terminal, be sure you’re on the directory where your ISO file is located:
sudo mkdir /media/iso

sudo modprobe loop

sudo mount file.iso /media/iso -t iso9660 -o loop
Once we have the Photoshop CD either in /media/ISO or /media/cdrom, let’s run the setup program under wine:
wine /media/ISO/setup.exe
The setup program of Photoshop should start momentarily. Warning: If you’re installing Photoshop CS, before clicking next on the first dialog box, be sure to move the dialog box a couple of inches downwards. The reason for this is that a warning dialog box will appear after you click next and it will appear behind this previous dialog box, and you won’t be able to click the OK button of that warning. Alternatively, you may just press [ENTER] after clicking next. (This may sound confusing, but just wait until you get to that annoying dialog box and you’ll see what I mean. For Photoshop 7.0 users, just ignore what I said, haha). The installation should run smoothly, and Photoshop would have been installed afterwards.
After the installation has completed, you may now run Photoshop under wine! Go to Nautilus (the Windows Explorer counterpart of Ubuntu, Places->Home Folder). Here, the default setting is to hide Hidden files, but we don’t want this because Wine installs applications under a hidden directory. So let’s tell Ubuntu to show us the hidden files by toggling it under the “view” menu.
View->Show Hidden Files, or simply press [CTRL]+[H].
Some other folders should appear now, look for the folder “.wine” (yes, with a ‘.’ preceding it) and double-click it. Now, enter the folder “drive_c”. The directory structure should be familiar from Windows. You should now locate the “Program Files” directory, then the “Adobe” directory, and lastly, your Photoshop directory. Once you’ve found it, simply double click Photoshop.exe and let Wine do it’s magic. 🙂
Final notes: If installation or running the program under Wine doesn’t work, try configuring the Wine to run under “Windows 2000” mode. To do this, go to the terminal and type:
winecfg
Under the “applications” tab, locate the “windows version” setting near the bottom of the window. Set that to “Windows 2000” and click OK.
Enjoy!
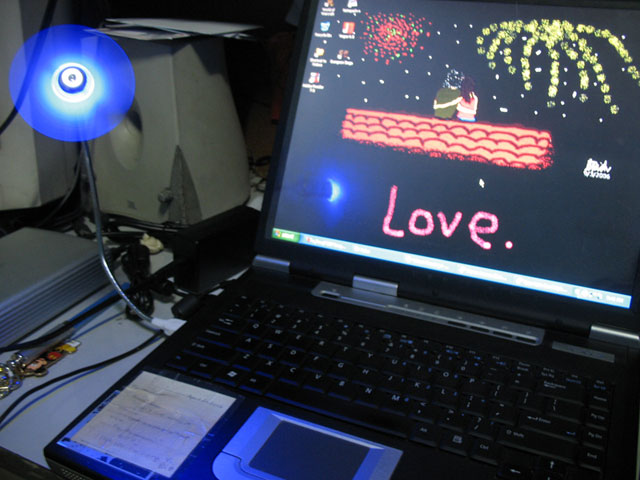
 If you’re an ultimate geek like me, then I bet you have one of these babies in your arsenal – the USB Fan. I first saw it while I was having my OJT in BlogStar, my boss, Sir WYu had one connected to his laptop since airconditioning was only turned on late in the morning, and it was a bit warm before that.

Kamakailang puna